At Colder’s, we believe a healthy, thriving family starts with a clean home—and that includes your appliances. From keeping your produce garden-fresh to handling some of the post-dinner cleanup, your kitchen appliances save you time while providing your family with the care they need. That’s why it’s important that we do our part in prolonging their lifespan.
Mainly, appliance maintenance means regularly removing grime that slows performance to ensure that your microwave, cooktop, oven, refrigerator, and dishwasher last longer. (It can also mean troubleshooting problems as soon as they arise, but appliance repair is a whole other story—perhaps for another time.)
In the spirit of spring cleaning and to celebrate the fresh start the new season symbolizes, give your appliances the performance reboot they need to run more efficiently. With the help of our experts, learn how you can deep clean your appliances below!

How Often You Should Deep Clean Your Appliances
The first rule in cleaning your appliances is knowing that you don’t have to wait until they smell bad or stop working. In fact, there are recommended intervals at which you are encouraged to deep clean your appliances. As vetted by industry experts, these cleaning intervals are defined as follows:
- Microwaves should be deep cleaned once a week.
- Cooktops, ovens, and ranges should be deep cleaned once every three months. If your cooktop or range has gas burners, these should be washed once a month.
- Refrigerators should be deep cleaned once every three months.
- Dishwashers should be deep cleaned once a month.
With that out of the way, here is how to clean your appliances…
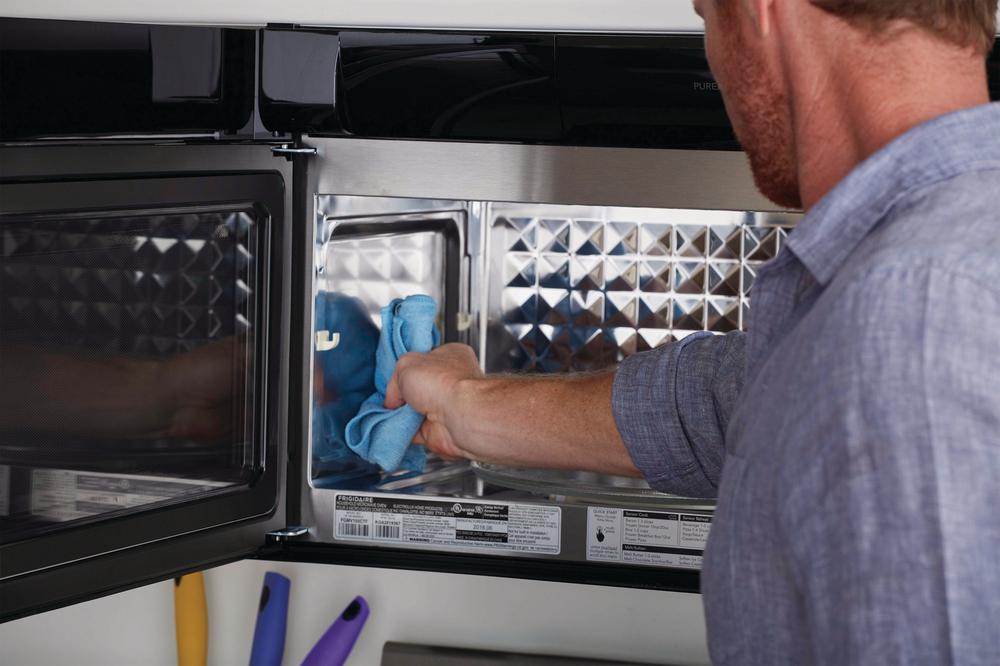
How to Clean a Microwave
As you may have noticed from our previous list, your microwave needs to be cleaned more frequently than any other kitchen appliance. And for good reason!
Chances are, you use your microwave every day. Over time, food spills in the interior cavity can lead to unsavory odors and bacteria buildup, and if your leftovers often include messy foods like saucy pastas and gravy-drenched mashed potatoes, it might behoove you to wipe up these spills and splatters as they happen. Alternatively, if you don’t find yourself using this small appliance often (maybe once a week), you can space out your deep cleaning sessions to once every three weeks.
Here is our recommended procedure for cleaning your microwave, regardless of whether it’s an over-the-range, countertop, or built-in model:
Step 1: Fill a microwave-safe bowl halfway with water.
Step 2: Stir in two tablespoons of baking soda.
Step 3: Place the bowl in your microwave and heat it for up to 4 minutes. If your model’s wattage is above 600, you may run it for 1-½ to 3 minutes.
Step 4: With caution, remove the hot bowl from your microwave.
Step 5: Use a dry, clean cloth to wipe away the grime on the inside.
Step 6: Dip your towel into the bowl and wipe off the microwave door and other exterior surfaces.

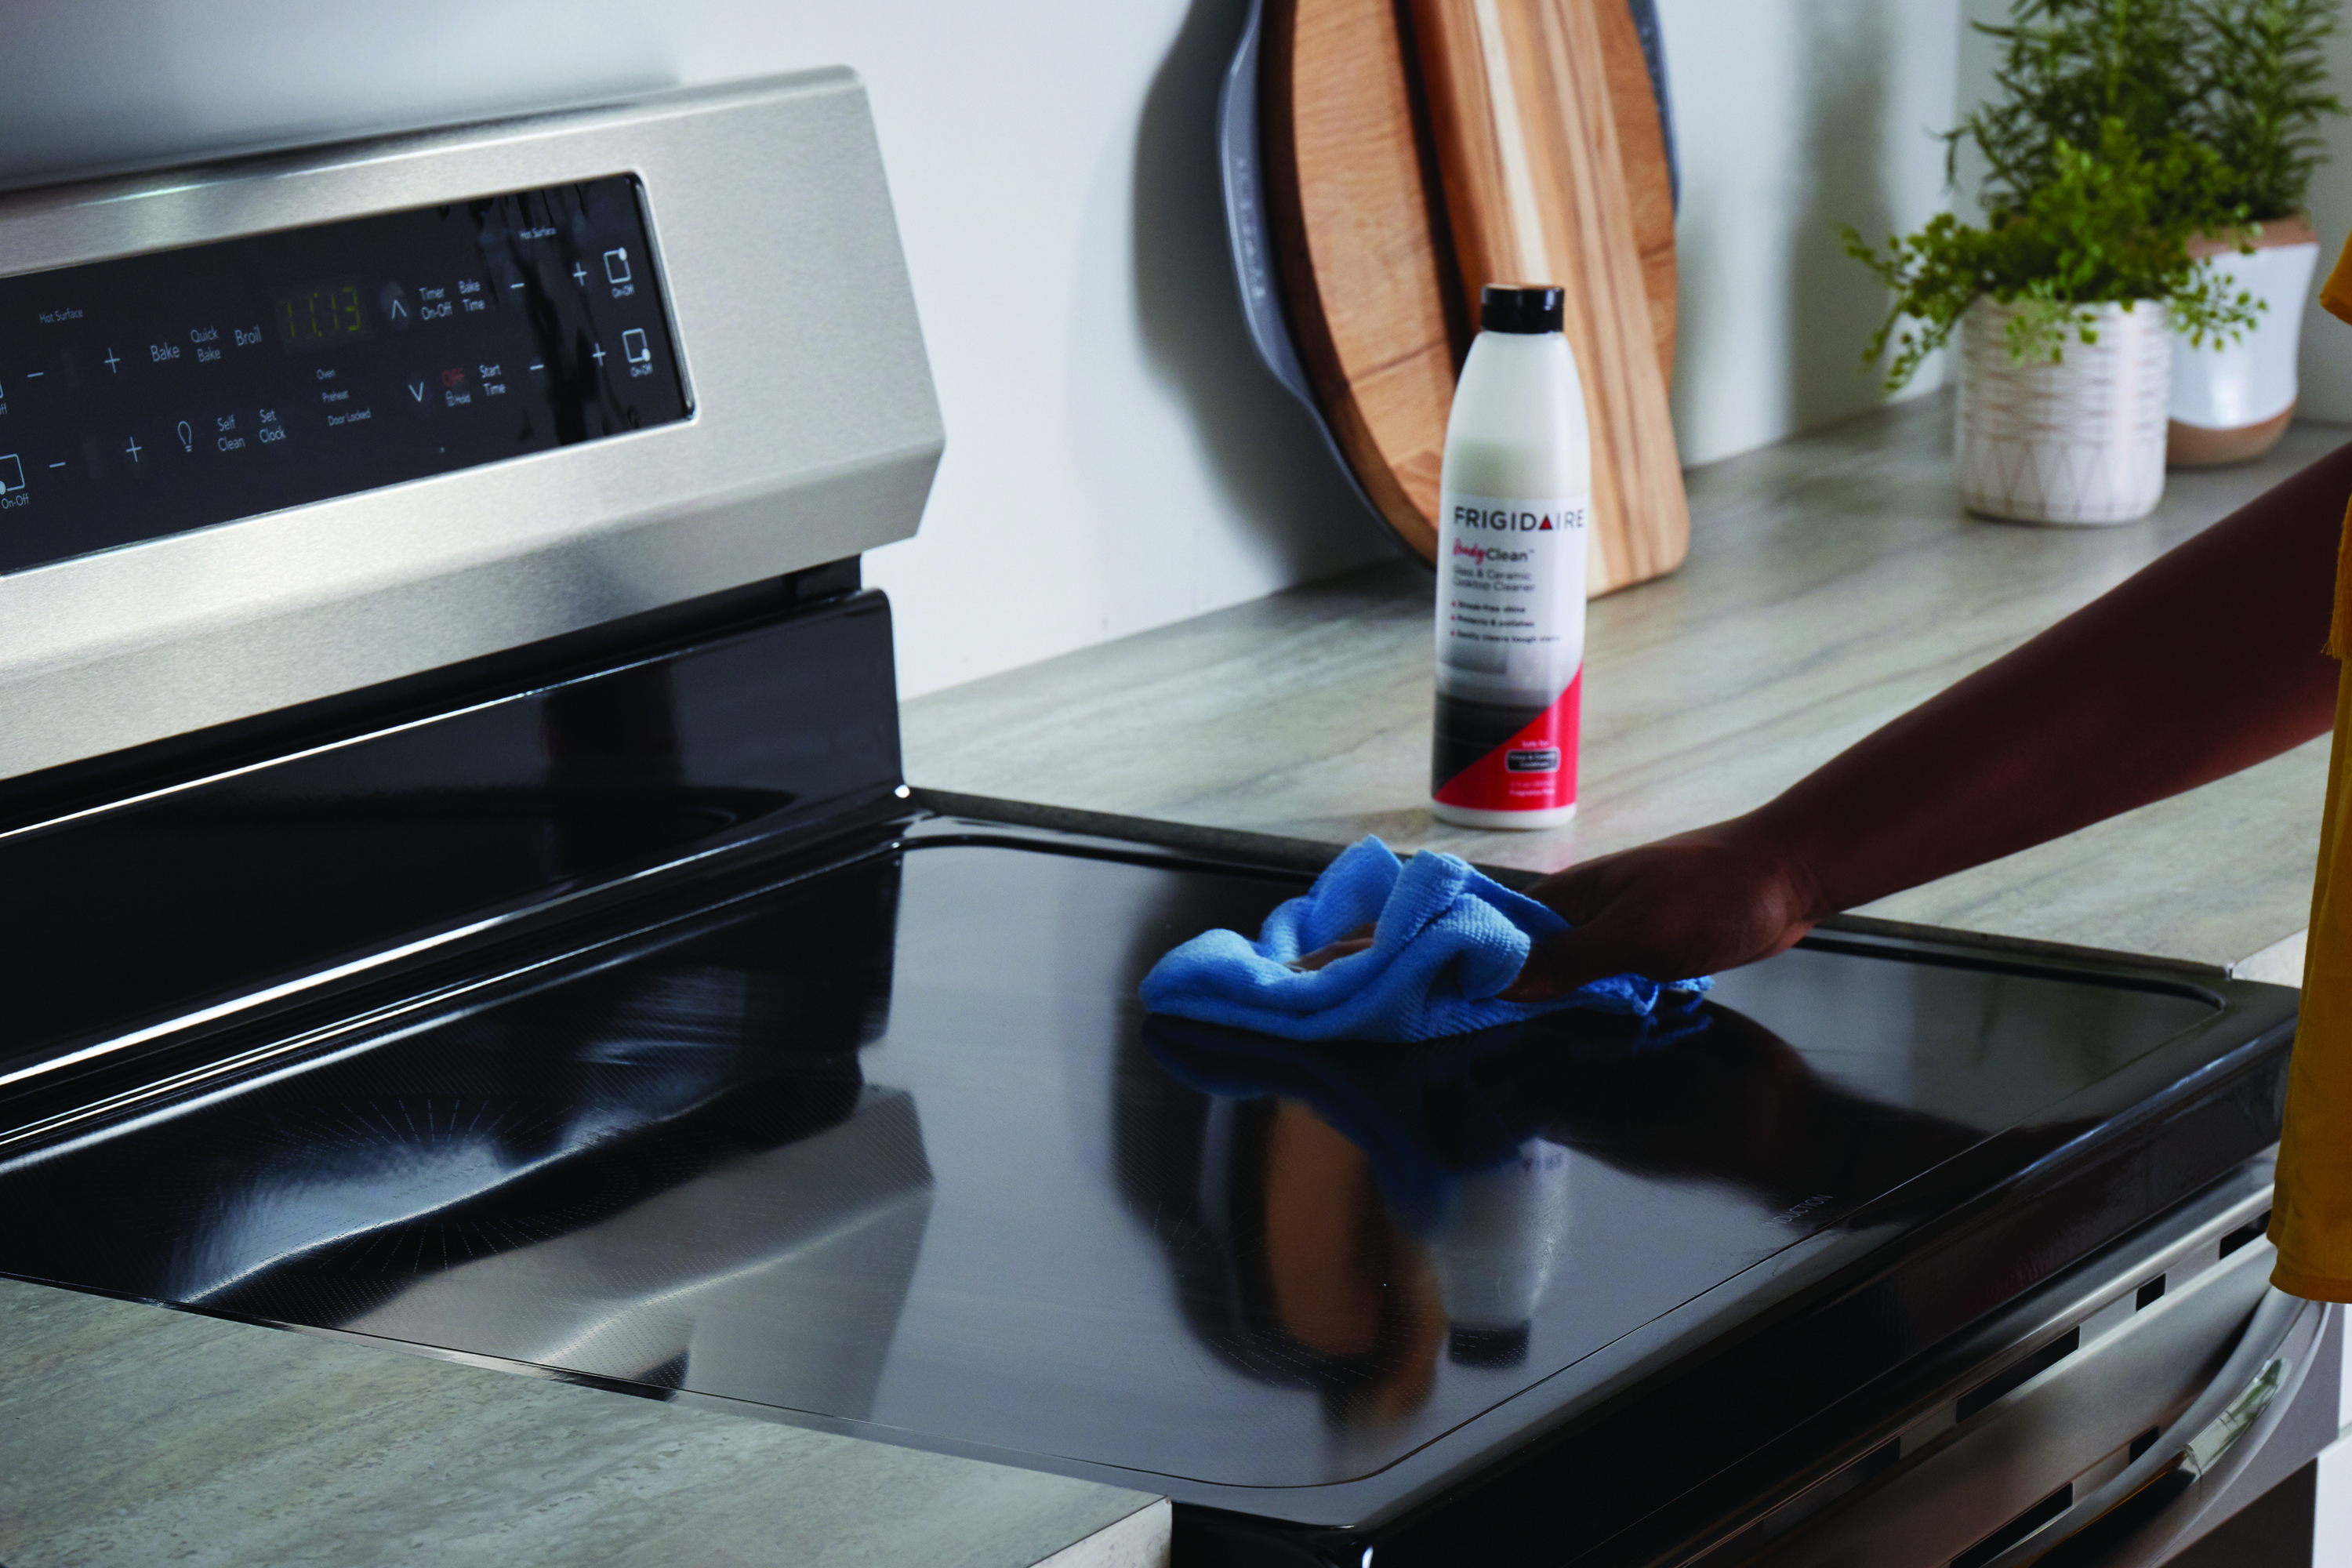
How to Clean a Range [or Cooktop and Wall Oven]
Whether you have a cooktop-and-wall-oven combo or a two-in-one kitchen range in your cooking space, much of the recommended cleanup procedure is the same. That said, gas stoves require some additional upkeep.
For starters, we recommend you invest in a ventilation system for optimal energy efficiency—especially for gas stoves. But regardless of whether you operate a smooth-top, exposed-coil, or gas-burner stove, wiping up spills and splatters immediately helps curb the potential for permanent damage. To that end, we discourage against using harsh cleaners or metal scrubbers, as these can blemish the finish on your appliances. In terms of day-to-day maintenance, using a plastic spatula to remove hardened food will suffice.
And before we delve into our prescribed cleaning routine, one thing to note for self-cleaning ovens is that it should be operated per the manufacturer’s instructions. In most cases, running a self-cleaning cycle more than once a month takes a lot of energy, which can also increase your utility bill.
To ensure these cooking appliances properly cook and bake your family favorites for years to come, take heed to the following cleaning instructions:
Step 1: Start with your stove. If your stove has gas burners, remove any metal drip pans or grids. Soak them in a mixture of kitchen degreaser and hot water for half an hour. Set a timer accordingly, if desired. If you operate an electric stove, you may disregard this step.
Step 2: Use a plastic spatula to remove any hardened food.
Step 3: Next, combine mild dishwashing soap and hot water in a bowl. Dip a clean sponge in the solution and wipe down your stove top while being mindful of grime caught in any crevices.
Step 4: Now, turn to your oven. First, combine baking soda and hot water in a bowl to form a paste. Dip a dry, clean cloth in the paste and target any greasy, baked-on splatters.
Step 5: Use the same sponge and soapy water that you used on your stove to wipe down the walls of your oven. Do the same to wipe off the oven door and other exterior surfaces.
Step 6: If your stove has gas burners, wait until the specified 30-minute mark (or after your timer goes off) to scrub your metal drip pan or grids clean with a dish brush. If you operate an electric stove, you may disregard this step.

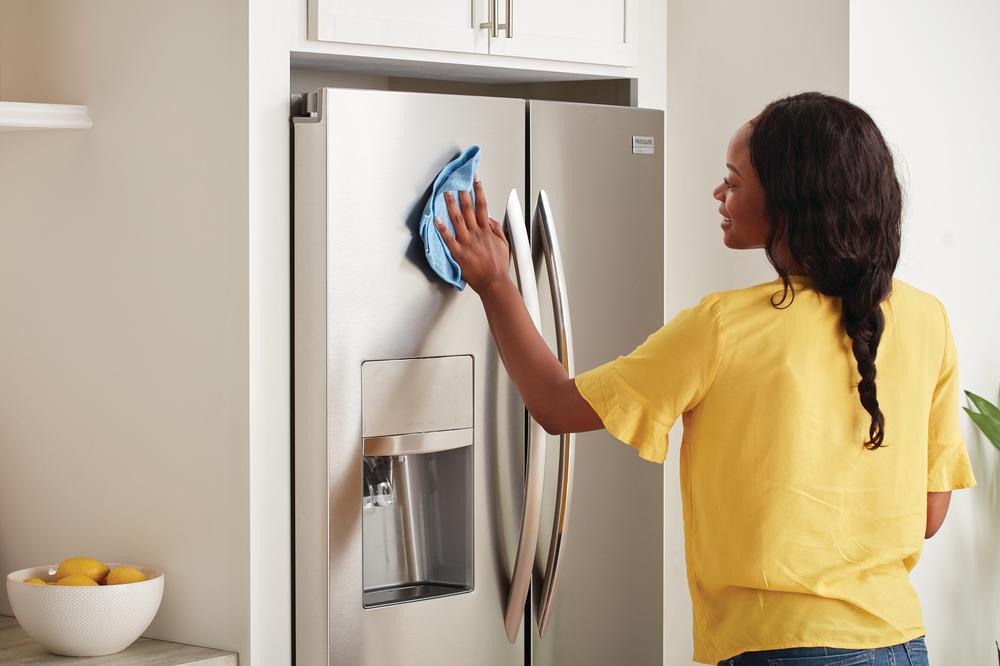
How to Clean a Refrigerator
Did you know routinely cleaning your refrigerator can increase your refrigerator’s efficiency by up to 30 percent? Well, it’s true! In fact, the more energy-efficient your refrigerator, the better; investing in an ENERGY STAR® model means saving up to $200 over its 12-year lifetime.
By the same token, as you take conscious steps to ensure your fridge performs its best, make sure it is located away from sunlight or other heat sources. Positioning your appliance in a heated area forces your appliance to work harder to maintain its cold internal temperature. Similarly, remember to remove any ice buildup in the freezer compartment to improve your unit’s airflow and thereby maintain an icy internal temperature. To prevent cold air from escaping your appliance, make sure the doors are closed completely after you access either compartment.
In terms of frequent maintenance, we suggest disinfecting the handles and water-dispenser controls daily to eliminate bacteria and to audit your refrigerator once a week to check for food that needs to be tossed to prevent the growth of mold and mildew.
Now, here is how to deep clean your appliance:
Step 1: Empty your refrigerator compartment completely of food in addition to any removable shelves and bins.
Step 2: Combine mild dishwashing soap and hot water in a bowl. Dip a clean sponge in the solution and wipe down the interior of your refrigerator while being mindful of grime caught in any crevices.
Step 3: Next, wipe down soapy surfaces with a dry, clean cloth.
Step 4: In the sink, use dishwashing soap and a sponge and/or brush to handwash the removable shelves and bins. Use a clean microfiber cloth to wipe them dry.
Step 5: Replace the shelves and bins in your newly clean refrigerator. In addition, use the microfiber cloth to wipe down food containers. As you’re loading foods back into your fridge, audit your inventory according to their expiration dates and overall appearance; throw out any foods past their prime.
Step 6: Empty your freezer compartment completely of food in addition to any removable shelves and bins.
Step 7: Remove any built-up frost by using a plastic spatula to gently scrape the ice.
Step 8: Repeat steps 2 through 5 to deep clean your freezer.
Step 9: Use a household disinfectant and a dry, clean cloth to wipe down the doors, handles, water-dispenser controls (as appliable), and other exterior surfaces.

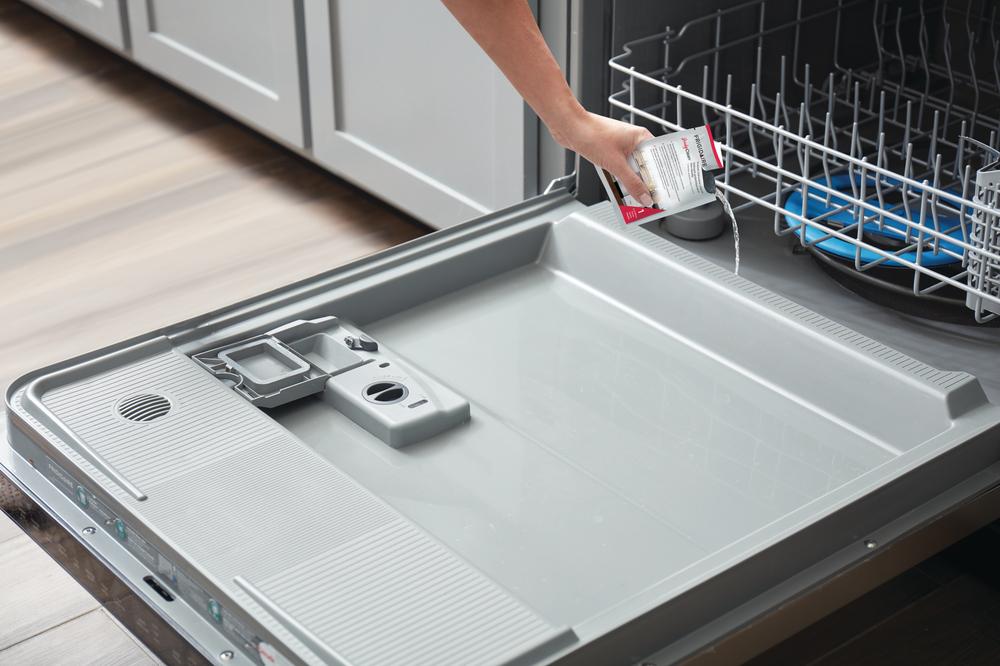
How to Clean a Dishwasher
Since they keep our dinnerware and cookware spotless and table-ready, it only makes sense to keep our dishwashers clean and bacteria-free, right? Regular upkeep of this appliance ensures optimal cleaning and drying performance so that your dishes don’t come out with any stuck-on food still on them.
Something we’re sure dishwasher users know all too well is the unpleasant stench this appliance can sometimes emit. To treat this problem and keep a relatively odor-less kitchen, be sure to inspect the condition of the door seal every week; if you find any grime or water spots, use a household disinfectant to clean the gasket—and prevent mold growth!
And when you load and unload your dishwasher, it’s important to be mindful of how forcefully we handle the sliding racks. Be gentle with these, as dishwasher racks are expensive to replace.
Unless you prefer to stand over your sink and scrub your dishes yourself every time, follow these steps so your dishwasher can continue taking on the dirty work:
Step 1: Remove the bottom rack.
Step 2: As applicable, clean the filter (a cylindrical tube that twist-locks into place) by removing it from the appliance and handwashing it in warm, soapy water. For stubborn food particles, carefully scrub the filter with a soft-bristled brush. If your dishwasher has a self-cleaning filter (i.e., hard food disposer), disregard this step.
Step 3: Clean the area where the filter is installed and then replace the filter. Again, if your dishwasher has a hard food disposer, disregard this step.
Step 4: Clean out the detergent dispenser of any debris with a soft-bristled brush.
Step 5: Replace the bottom rack. Next, fill a dishwasher-safe bowl with one cup of distilled white vinegar. Place it on the top rack. Alternatively, you may use a probiotic dishwasher cleaner; in which case, you may opt out of using vinegar.
Step 6: In either case of using a bowl of vinegar or using a probiotic dishwasher cleaner (as directed), run a hot water wash cycle but skip the drying cycle.
Step 7: Unless you are using a probiotic dishwasher cleaner, retrieve your bowl, and sprinkle in one cup of baking soda along the bottom of the appliance and run another hot water cycle.

Let Us Help You
Don’t forget to check out our Appliances catalog to see how you can outfit your kitchen with the sleekest appliances. If you have any questions related to our products, don’t hesitate to call us at 1-414-476-1574 or visit our experts at any of our four Southeastern Wisconsin locations. More accessible than ever, we can also be reached via chat!